Building a mobile game in Xamarin Forms - Creating the application
by Shaun Lawrence
Our journey starts right where any good story begins… the setup.
First we will need to open Visual Studio (this example is built on using VS for Mac).
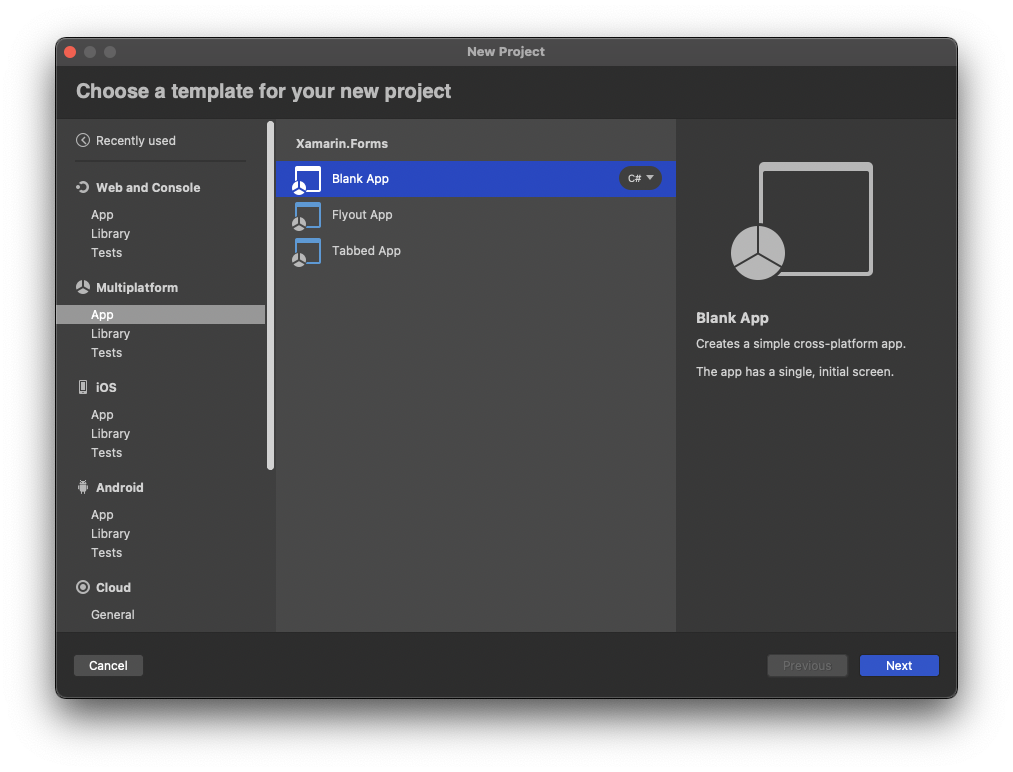
Once open we need to select File -> New Solution...
We will then choose Multiplatform -> App in the left hand pane and Blank App in the main pane as can be seen in the screenshot below.

The Blank App option will provide us with a practically blank app and a single page. This is ideal for our scenario because we do not require any extra functionality like flyout menus, tabs or even shell navigation.
We will then want to press Next.
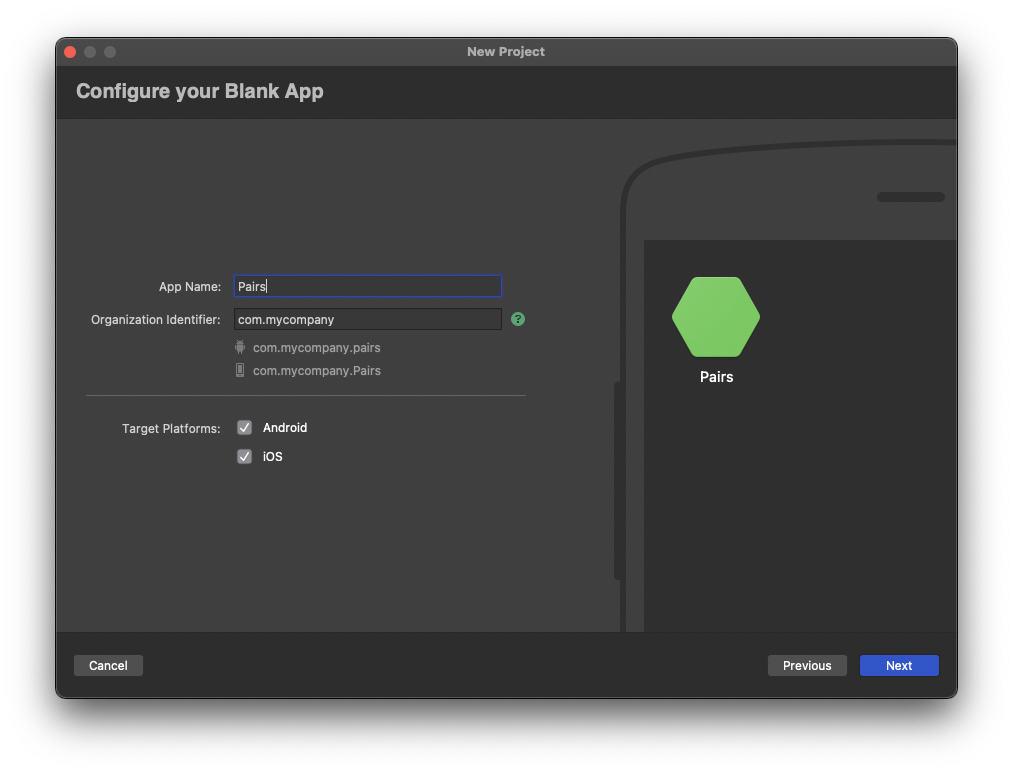
We should only need to enter the App Name: on this screen. I have chosen to use Pairs as it reminds me of the card matching game growing up.
You may also opt to changing the Organization Identifier:.
I want to target both Android and iOS so I will be leaving both options ticked.

We will then want to press Next.
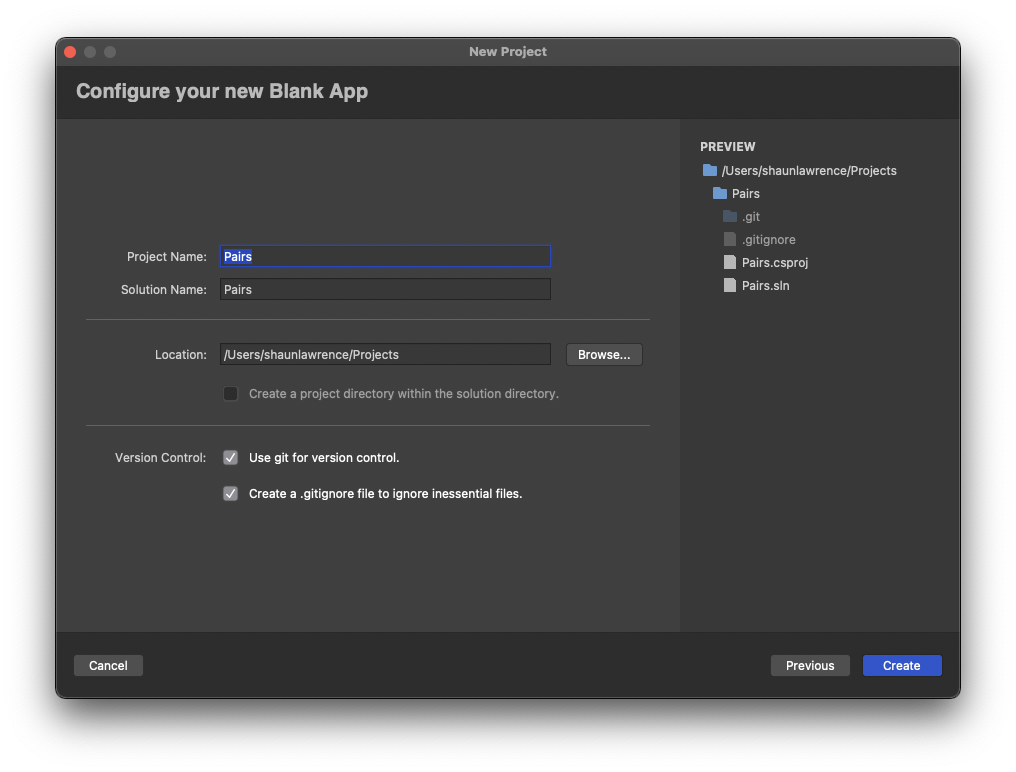
Finally we end up at the create screen.
I don’t tend to change any of the options on this screen however I do sometimes choose to place my source code in a different location to the default, this is purely down to preference though.
By default Visual Studio will opt-in to using Version Control and git. I would thoroughly recommend that you keep this on and I would actively encourage any developer to make sure you use the version control option. It becomes invaluable when building large complex things and being able to trace what changes have been done and why.

We can now press Create.
Once complete we should see an open solution with our 3 main projects:
- Pairs - this is our shared project and will hopefully be where we can keep the majority of our code.
- Pairs.Android - this is the Android specific project.
- Pairs.iOS - this is the iOS specific project.
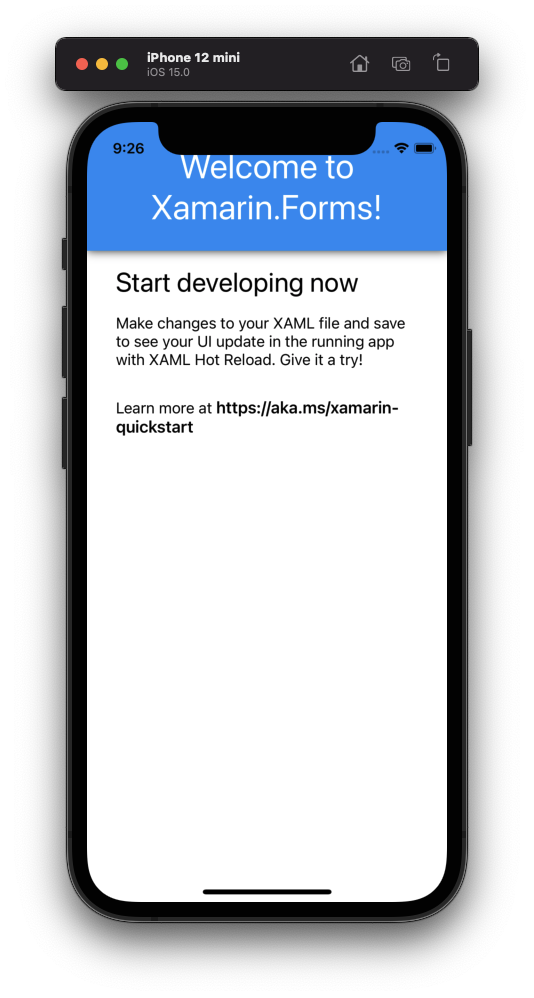
If we run the app up we should see something like:

This will now serve as the basis for our next step in this series Data layer
Links
The source for the end of this stage can be found at:
https://github.com/bijington/mobile-game-xamarin-forms/tree/part-one-creating-the-application
| Previous | Next |
|---|---|
| Introduction | Data layer |