Building a mobile game in Xamarin Forms - Shapes, Paths and Converters
by Shaun Lawrence
In our previous post we put in a lot of effort without too much visual reward. This post is aimed at fixing that!
This was the result of the previous post:
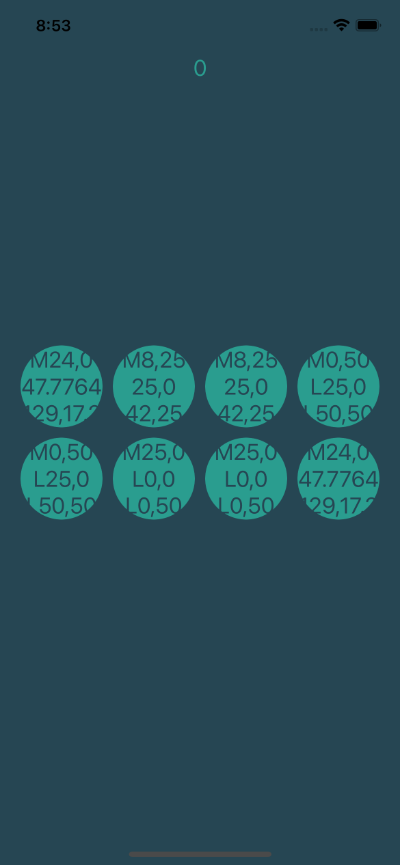
We can do so much better than this right?
We currently have a TileViewModel with a Path property on that contains the geometry required to draw the shapes we want on screen. We now want to translate this information which exists within our View-Model to something that can be rendered in our View. Of course we could simply place a property of type PathGeometry in to our TileViewModel class but this is breaking the nice separation we have already built. This leads me on to our main topic for today…
Value Converters
An excerpt from the above article shows a basic example with this description:
Suppose you want to define a data binding where the source property is of type
intbut the target property is abool. You want this data binding to produce afalsevalue when the integer source is equal to0, andtrueotherwise.
We can apply this same logic to converting our model related information across to something meaningful for the view to render.
Let’s jump in to Visual Studio and add our converter.
First off we will add a new folder in the shared project and call it Converters in case we have more to come later on.
Next let’s add our new class and call it StringToPathGeometryConverter. Hopefully the name gives a good impression on what it will do. And let’s add this code:
public class StringToPathGeometryConverter : IValueConverter
{
    private readonly PathGeometryConverter converter;

    public StringToPathGeometryConverter()
    {
        converter = new PathGeometryConverter();
    }

    public object Convert(object value, Type targetType, object parameter, CultureInfo culture) =>
        value is string stringValue ? converter.ConvertFromInvariantString(stringValue) : value;

    public object ConvertBack(object value, Type targetType, object parameter, CultureInfo culture) =>
        throw new NotSupportedException($"BindingMode.OneWay is only supported by {nameof(StringToPathGeometryConverter)}");
}
The Convert method is the only important part for this converter as we are considering this a OneWay converter, basically meaning we convert from the source (view model) to the target (view) but not back the other way. If we wanted to convert back then we could add an implementation to ConvertBack to do this.
The Convert method takes the string that is bound to the control and uses a PathGeometryConverter to generate a PathGeometry that some XAML controls can use to render paths/shapes.
Use the converter
Now that we have created our converter we ‘just’ need to use it. This is a 3 step process all inside our MainPage.xaml file:
1. Include the new converters namespace
At the top on the ContentPage element we need to add this attribute:
xmlns:converters="clr-namespace:Pairs.Converters"
This will allow us to make use of the classes within that namespace inside the XAML file.
2. Create a converter
Inside the ContentPage element, below the </ContentPage.BindingContext> line we want to add:
<ContentPage.Resources>
    <converters:StringToPathGeometryConverter x:Key="StringToPathGeometryConverter" />
</ContentPage.Resources>
This creates an instance of our new converter that can be referred to by it’s x:Key. I typically just give it the same name as the class itself unless I need to create multiple of the same type for different jobs.
3. Use our converter
Inside our Frame we should currently have:
<Label Text="{Binding Path}"
       TextColor="{StaticResource Color01}"/>
We want to replace this with:
<Path Fill="{StaticResource Color01}"
      Data="{Binding Path, Converter={StaticResource StringToPathGeometryConverter}}"
      HorizontalOptions="Center"
      VerticalOptions="Center"
      WidthRequest="50"
      HeightRequest="50" />
The key parts to this change are:
Path control
Using the Path control that allows shapes to be draw in our application (really cool stuff by the Xamarin team!)
How we use the converter
Data="{Binding Path, Converter={StaticResource StringToPathGeometryConverter}}"
As before we are binding the string property Path from our TileViewModel class to our view but now we are telling the binding how to convert the string to something else. If you decided to set x:Key differently in part 2 then you will need to place that after StaticResource above. Visual Studio does a good job with auto completion these days so it should be easy to spot.

One quick improvement
We will quickly jump back to our XAML and replace the old PlayButton with a Polygon that can also render paths for us.
The button should be replaced as follows:
Old
<Button Text="Play"
        Grid.Row="1"
        Command="{Binding PlayCommand}"
        IsVisible="{Binding ShowPlay}"
        VerticalOptions="Center" />
New
<Polygon Points="0,0 40,20 0,40"
         Fill="#2A9D8F"
         WidthRequest="40"
         HeightRequest="40"
         HorizontalOptions="Center"
         IsVisible="{Binding ShowPlay}"
         VerticalOptions="Center"
         Grid.Row="1">
    <Polygon.GestureRecognizers>
        <TapGestureRecognizer Command="{Binding PlayCommand}" />
    </Polygon.GestureRecognizers>
</Polygon>
This will give us a play button icon that we all know and love:
![]()
Summary
We have taken a look at Converters, they value they provide and then implemented one that fits within our mobile game by exposing ourselves to the concept of rendered shapes and paths.
Links
The source for the end of this stage can be found at:
https://github.com/bijington/mobile-game-xamarin-forms/tree/part-six-shapes-paths-and-converters
For more possibilities for shapes/paths I would recommend looking over the Microsoft documentation.
| Previous | Next |
|---|---|
| BindableLayout | Lottie |