Building a sliding puzzle game in .NET MAUI - Part two
by Shaun Lawrence
This post is part of the Building a sliding puzzle game in .NET MAUI series that is aimed at guiding you through building a simple sliding puzzle game in .NET MAUI.
This post is also part of the MAUI UI July community series of blog posts and videos, hosted by Matt Goldman. Be sure to check out the other posts in this series!
What we will be covering in this post
- Adding in our images
- Creating our data models
- Creating our data context
- Taking our application for a test drive
Adding in our images
I couldn’t quite decide where the best place to do this was - we aren’t technically using the images just yet but given that we are creating some mock data I thought it made sense to include the images at the same time.
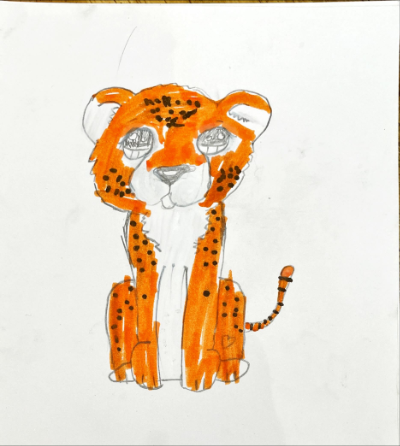
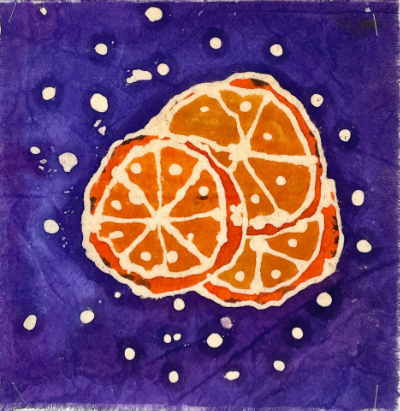
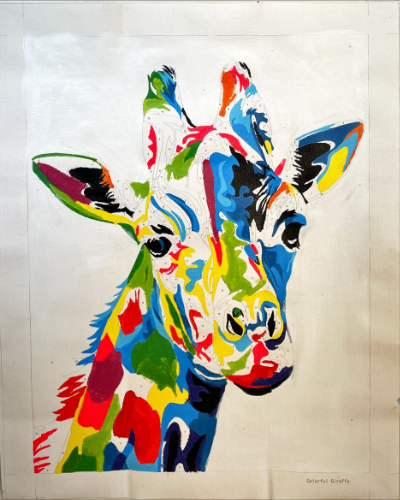
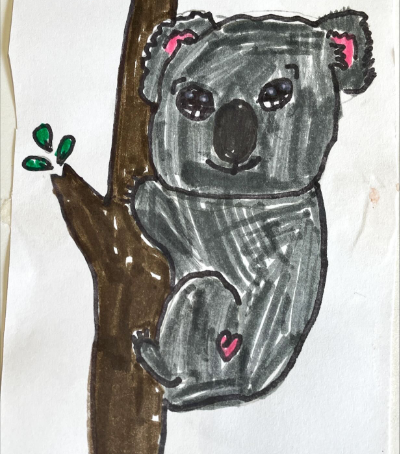
My daughters have kindly agreed to allow me to use their artwork as the main content for the puzzles so let me introduce you to those:
| Image | Image |
|---|---|
 |
 |
 |
 |
Let’s head over to Visual Studio and include these in our project. We should note that because we will be using the .NET MAUI Graphics APIs to load and draw these images we will want to include them as an EmbeddedResource in our project rather than the usual MauiImage.
Create the EmbeddedResources folder
The first step is to add the folder in our project:
- Right click on the Resources folder
- Click on
Add>New Folder... - Enter the name EmbeddedResources
- Click on
Add
Add the images
There are many different ways to achieve this but I simply just drop the files in the folder on disk and make full use of Visual Studio detecting and bringing in these files.
You can source the images yourself from: https://github.com/bijington/sliding-puzzle/tree/part-two/Puzzler/Puzzler/Resources/EmbeddedResources
Marking the images as EmbeddedResource
This is one of the few times you will need to modify your project file. Let’s do that now:
- Right click on the Puzzler project
- Click on
Edit Project File - Navigate down to the
<ItemGroup>that contains the items like<!-- Images --> - Add in the following to the bottom of that group
<!-- Embedded Resources (also remove the "Resources\EmbeddedResources" prefix) -->
<EmbeddedResource Include="Resources\EmbeddedResources\**" LogicalName="%(RecursiveDir)%(Filename)%(Extension)" />
This will look fairly similar to the line above for Raw assets. To give a bit of context to what this determines we can say that “All files inside the EmbeddedResources folder will be included as an EmbeddedResource but it will have the folder names remove from it’s resource name when it comes to loading the file.” If we didn’t do the last part we would need to use a file name of 'Puzzler.Resources.EmbeddedResources.cheetah.jpg' for the cheetah image, with this last part we can simply use the name 'cheetah.jpg'.
Now that we have our images compiling into our project we can proceed to representing them.
Creating our data models
We have 2 new files to introduce as part of this section:
Creating the LevelDifficulty.cs file
We want to create an enum to represent the difficulty of each level within our game. Let’s add that file now:
- Right click on the Puzzler project
- Click on
Add>New File... - Click on
Empty Enumeration - Enter the name LevelDifficulty
- Click on
Add
We should now have a new file open within Visual Studio. We can replace the contents with the following:
namespace Puzzler;

public enum LevelDifficulty
{
    /// <summary>
    /// Easy difficulty - grid size of 2x2
    /// </summary>
    Easy = 0,

    /// <summary>
    /// Medium difficulty - grid size of 3x3
    /// </summary>
    Medium = 1,

    /// <summary>
    /// Hard difficulty - grid size of 4x4
    /// </summary>
    Hard = 2
}
Creating the Level.cs file
Next we need to create the class that will represent a level in the game. Let’s add that file now:
- Right click on the Puzzler project
- Click on
Add>New File... - Click on
Empty Class - Enter the name Level
- Click on
Add
We should now have a new file open within Visual Studio. We can replace the contents with the following:
namespace Puzzler;

public class Level
{
    public string Name { get; init; }

    public string ImageName { get; init; }

    public LevelDifficulty Difficulty { get; init; }
}
Now that we have all the parts to represent levels let’s proceed to creating our data context that will load them.
Creating our data context
Full disclosure here, we won’t be adding in anything database related here, or even anything that is loaded from an external source. We will simply be hard coding some levels for now but with the approach that we are using it should provide you with a good platform to swap to whatever source you wish.
We need to create the class that will provide the levels in our game. Let’s add that file now:
- Right click on the Puzzler project
- Click on
Add>New File... - Click on
Empty Class - Enter the name Context
- Click on
Add
We should now have a new file open within Visual Studio. We can replace the contents with the following:
using System.Collections.ObjectModel;

namespace Puzzler;

public class Context
{
    public ObservableCollection<Level> Levels { get; } = new ObservableCollection<Level>();

    public Context()
    {
        Levels.Add(new Level { Name = "First", ImageName = "first.jpg", Difficulty = LevelDifficulty.Easy });
        Levels.Add(new Level { Name = "Cheetah", ImageName = "cheetah.jpg", Difficulty = LevelDifficulty.Easy });
        Levels.Add(new Level { Name = "Koala", ImageName = "koala.jpg", Difficulty = LevelDifficulty.Easy });
        Levels.Add(new Level { Name = "Giraffe", ImageName = "giraffe.jpg", Difficulty = LevelDifficulty.Easy });

        Levels.Add(new Level { Name = "First", ImageName = "first.jpg", Difficulty = LevelDifficulty.Medium });
        Levels.Add(new Level { Name = "Cheetah", ImageName = "cheetah.jpg", Difficulty = LevelDifficulty.Medium });
        Levels.Add(new Level { Name = "Koala", ImageName = "koala.jpg", Difficulty = LevelDifficulty.Medium });
        Levels.Add(new Level { Name = "Giraffe", ImageName = "giraffe.jpg", Difficulty = LevelDifficulty.Medium });

        Levels.Add(new Level { Name = "First", ImageName = "first.jpg", Difficulty = LevelDifficulty.Hard });
        Levels.Add(new Level { Name = "Cheetah", ImageName = "cheetah.jpg", Difficulty = LevelDifficulty.Hard });
        Levels.Add(new Level { Name = "Koala", ImageName = "koala.jpg", Difficulty = LevelDifficulty.Hard });
        Levels.Add(new Level { Name = "Giraffe", ImageName = "giraffe.jpg", Difficulty = LevelDifficulty.Hard });
    }
}
Registering our data context
The final change for this post is to open up our MauiProgram.cs file and register our Context class with the MauiAppBuilder. Inside the CreateMauiApp method, just before the return line let’s add the following:
// Register the data layer.
builder.Services.AddSingleton<Context>();
This will make it easy for us to declare a dependency on this when creating our later pages and use it to load and display our levels.
That is it for the changes in this post. Let’s proceed to checking out what impact they make.
Taking our application for a test drive
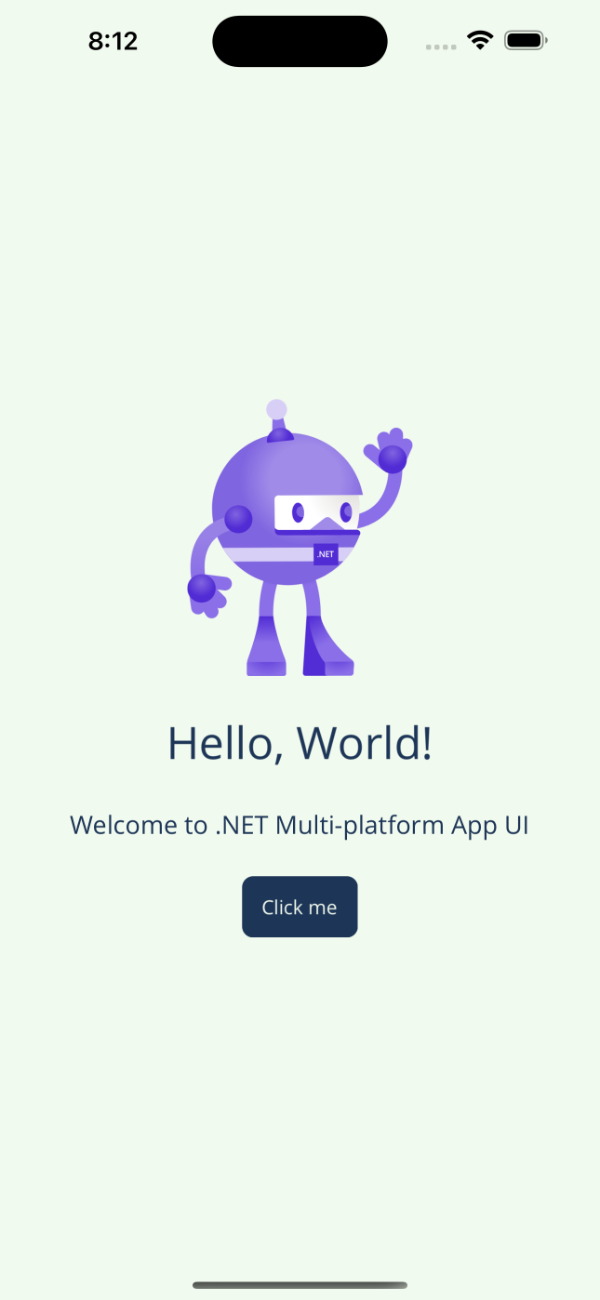
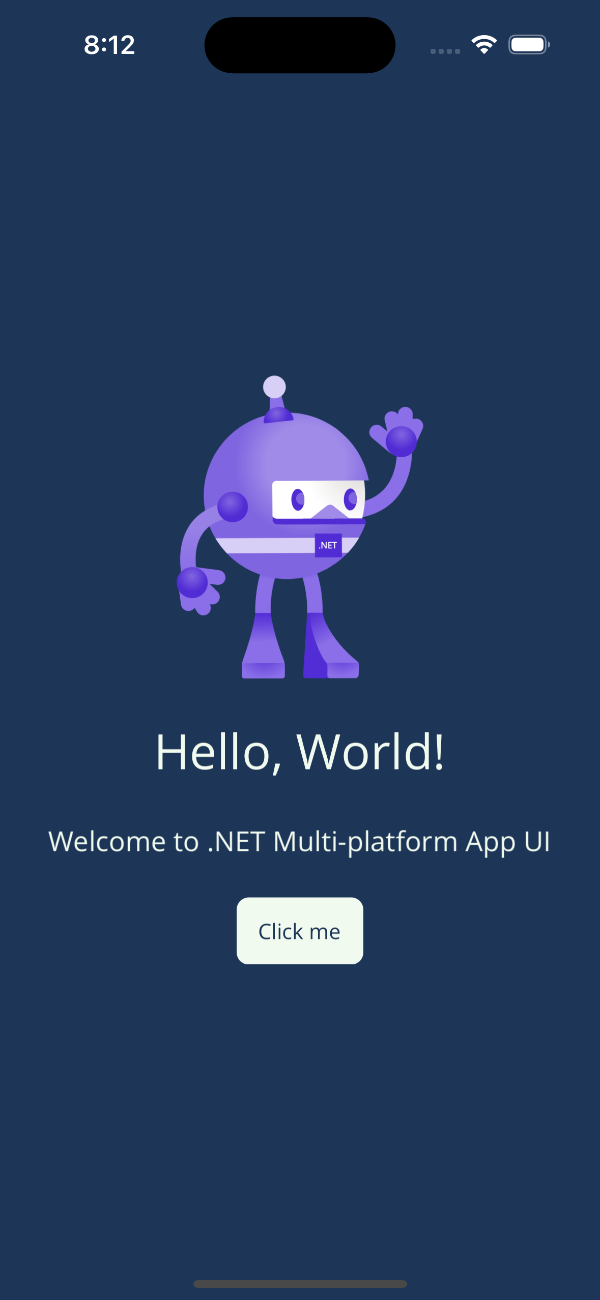
And yes that is right, these changes made absolutely zero difference to the applications UI! Don’t worry we we start to build upon this in the next few posts.
To confirm if we do run the application we will see the following pages based on whether we are running in light or dark mode just like in the previous post.
| Light mode | Dark mode |
|---|---|
 |
 |
What we have achieved
To summarise what we have achieved in this post:
- Added in our images
- Created our data models
- Created our data context
- Taken our application for a test drive
In our next post we will look to add in our home page.
Links
The source for the end of this stage can be found at:
https://github.com/bijington/sliding-puzzle/tree/part-two
| Previous | Next |
|---|---|
| Creating our application | Creating our home page |