Building a sliding puzzle game in .NET MAUI - Part three
by Shaun Lawrence
This post is part of the Building a sliding puzzle game in .NET MAUI series that is aimed at guiding you through building a simple sliding puzzle game in .NET MAUI.
This post is also part of the MAUI UI July community series of blog posts and videos, hosted by Matt Goldman. Be sure to check out the other posts in this series!
What we will be covering in this post
- Embedding the IonIcons icon font
- Creating our home page
- Deleting the old MainPage
- Taking our application for a test drive
Embedding the IonIcons icon font
In order to provide a nice clean looking play icon I have opted to embed the IonIcons v1 icon font. Yes I completely agree that embedding an entire font in order to use a single icon is overkill but for the purposes of showing how to do it, it seemed like a good option. Plus we could also make use of further fonts if we decide to expand the game.
Downloading the icon font
You can grab a copy of the icon font from https://ionic.io/ionicons/v1. Just click on the big Download button. You should end up with a zip file that you will need to:
- Unzip the ionicons-1.5.2.zip file or whatever version you ended up with.
- Open the resulting folder (e.g. ionicons-1.5.2).
- Open the fonts folder.
- Copy the ionicons.ttf file into the Resources/Fonts folder in your project folder.
Configuring the icon font
In order to be able to make use of the font we need to configure the MauiAppBuilder to know about the new font. In order to do this we can open up the MauiProgram.cs file and add the following line into the existing ConfigureFonts method call:
fonts.AddFont("ionicons.ttf", "IonIcons");
The resulting full method call should look as follows:
.ConfigureFonts(fonts =>
    {
        fonts.AddFont("OpenSans-Regular.ttf", "OpenSansRegular");
        fonts.AddFont("OpenSans-Semibold.ttf", "OpenSansSemibold");
        fonts.AddFont("ionicons.ttf", "IonIcons");
    });
For further information on registering fonts within .NET MAUI checkout the Microsoft documentation on the topic.
Now that we have embedded our icon font we can proceed to building our home page and using it.
Creating our home page
First things first, I do like some level of order so let’s create a Pages folder to store all of the pages that we will be creating in the next few blog posts:
- Right click on the Puzzler project
- Click on
Add>New Folder... - Enter the name Pages
- Click on
Add
Now we can add in our first page.
- Right click on the Pages folder
- Click on
Add>New File... - Click on
.NET MAUIin the left hand pane. - Click on
.NET MAUI ContentPage (XAML)in the right hand pane. - Enter the name HomePage
- Click on
Add
Modifying the HomePage.xaml file
We should now have a new XAML file open within Visual Studio. We can replace the contents with the following:
<?xml version="1.0" encoding="utf-8" ?>
<ContentPage
xmlns="http://schemas.microsoft.com/dotnet/2021/maui"
xmlns:x="http://schemas.microsoft.com/winfx/2009/xaml"
x:Class="Puzzler.Pages.HomePage">
<Grid RowDefinitions="*,*">
<Label
Text="Puzzler"
TextTransform="Uppercase"
FontSize="80"
VerticalOptions="End"
HorizontalOptions="Center" />
<Button
ImageSource="{FontImage , FontFamily=Ionicons, Size=44}"
Grid.Row="1"
VerticalOptions="Start"
HorizontalOptions="Center"
Clicked="OnPlayButtonClicked"/>
</Grid>
</ContentPage>
The above changes involve us creating a Grid with 2 rows, in the first row we have a Label whose text will be transformed to be all uppercase. In the second row we have a Button that is making use of the icon font that we embedded in the previous section. We are able to make use of the FontImageExtension in order to load our custom icon from the font. Supplying the unicode character in this way does not feel the most intuitive and some efforts have been put in place to map these unicode characters to a more friendly name. For now though  is the magic value that we need. I was able to find this unicode character from this handy IonIcons cheat sheet page
For further information of using font icons in a .NET MAUI application checkout the Microsoft documentation on the topic.
We added a button click event handler in our XAML which means we will also need to update the HomePage.xaml.cs file.
Modifying the HomePage.xaml.cs file
Open up your HomePage.xaml.cs file. It should be pretty empty. For now we just want to add in an empty click event handler ready for when we have a second page to navigate to. Add the following into the HomePage class:
void OnPlayButtonClicked(object sender, EventArgs e)
{
}
Deleting the old MainPage
Now that we have our HomePage we can delete the MainPage.xaml and MainPage.xaml.cs files that were created by the .NET MAUI template when we first created our project:
- Right click on the MainPage.xaml file
- Click on
Delete
Swapping to our HomePage for the initial page
The final change is to update our AppShell.xaml file to include our HomePage class instead of the old MainPage that we have just deleted. There are a number of little changes to make so the simplest approach would be to modified the whole contents of the file to the following:
<?xml version="1.0" encoding="UTF-8" ?>
<Shell
    x:Class="Puzzler.AppShell"
    xmlns="http://schemas.microsoft.com/dotnet/2021/maui"
    xmlns:x="http://schemas.microsoft.com/winfx/2009/xaml"
    xmlns:pages="clr-namespace:Puzzler.Pages"
    Shell.FlyoutBehavior="Disabled">

    <ShellContent
        ContentTemplate="{DataTemplate pages:HomePage}" />

</Shell>
The changes that we have applied are:
- Modified the
localnamespace to be calledpagesand point toPuzzler.Pages. - Changed the
ShellContentinside to point to the newHomePageclass. - Removed the
TitleandRoutesetters from theShellContentas they add no value for our scenario.
That is it for this post, we can run the application up and see what the result is.
Taking our application for a test drive
If we run the application we will see the following pages based on whether we are running in light or dark mode.
| Light mode | Dark mode |
|---|---|
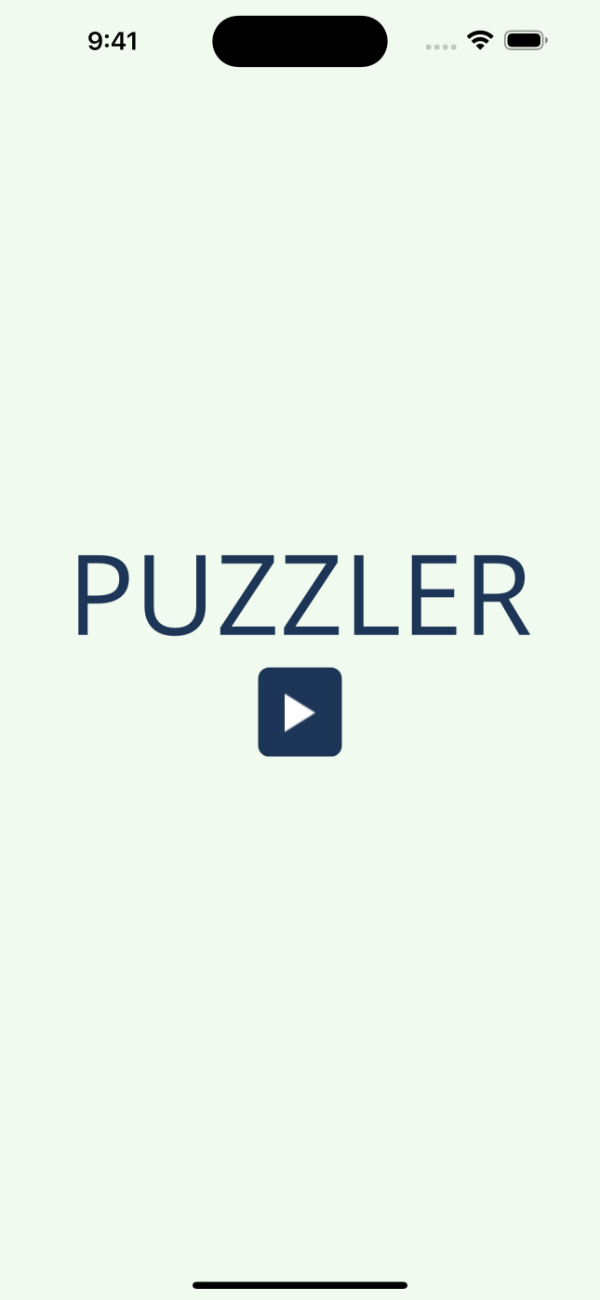 |
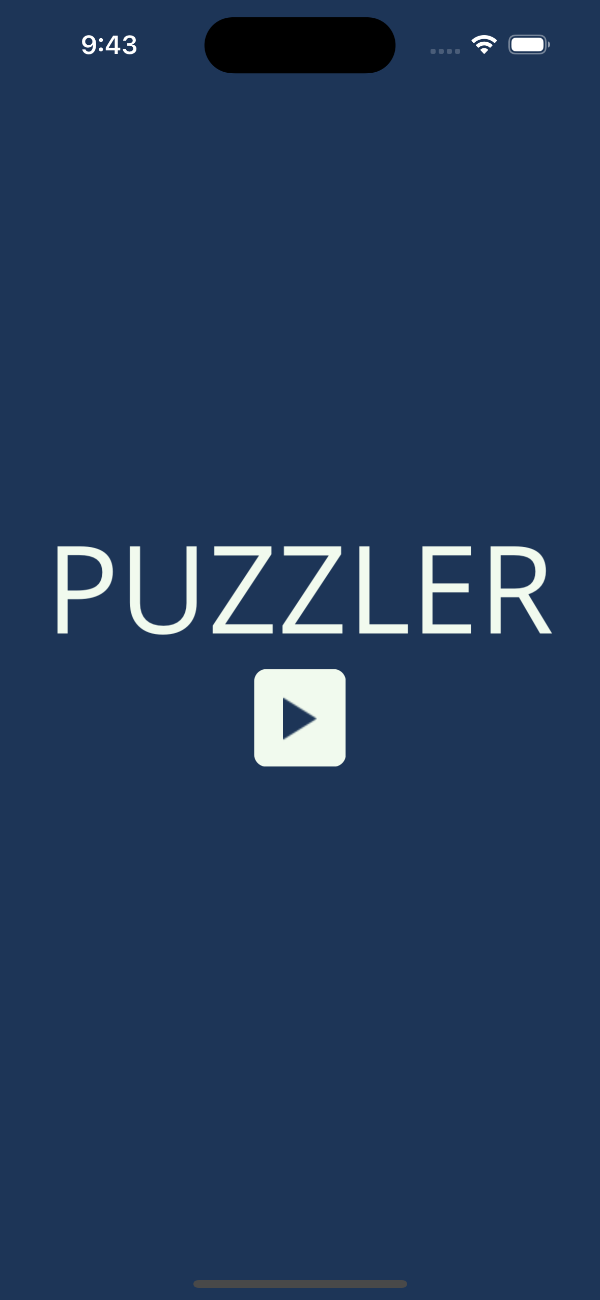 |
What we have achieved
To summarise what we have achieved in this post:
- Embedded the IonIcons icon font
- Created our home page
- Deleted the old MainPage
- Taken our application for a test drive
In our next post we will look to add in our tile grid.
Links
The source for the end of this stage can be found at:
https://github.com/bijington/sliding-puzzle/tree/part-three
| Previous | Next |
|---|---|
| Creating our data layer | Creating our tile grid |